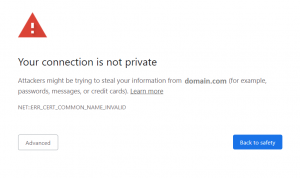
After installing Cyberpanel on a server, you can access the panel using https://your-domian-name:8090. However, this will give you a warning like below, Having a Hostname SSL removes this problem and allows you to access Cyberpanel on a Subdomain(or domain)

How to issue a Hostname SSL certificate
You can do this for a subdomain or main domain the process is exactly the same
If u are doing this for a subdomain make sure u have website created for that subdomain on your Cyberpanel
In this tutorial I will use the subdomain panel.example.com but the process is exactly the same for a main domain too
Step one : – Create a website for your subdomain(or domain)
Before continuing further make sure you have created a website with a domain you want to access Cyberpanel as (To learn how to create your first website click here).
If you want to access Cyberpanel on: https://panel.yourdomain.com:8090 , create an website with domain “panel.yourdomain.com". While creating the website you can either Select SSL or not, it is optional
Step Two: – Issue the hostname SSL for your subdomain(or main domain)
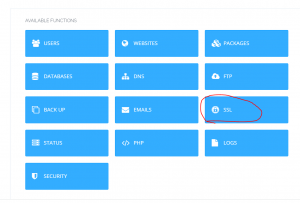
Go to your Cyberpanel then click on the SSL icon

Then click on HOSTNAME SSL

Then Select your subdomain(or domain) and click on Issue SSL

Give it some time and then boom u will get the below message

You Have successfully Added a Hostname SSL to your Cyberpanel installation
You can now access your Cyberpanel on the subdomain you issued the Hostname SSL on by going to https://panel.yourdomain.com:8090
If instead u choose your main domain for the hostname SSL then simply go to https://yourdomain.com:8090
if you have any questions please leave a comment below
Hi there are using WordPress for your blog platform?
I’m new to the blog world but I’m trying to get started and set up my own. Do you need any coding expertise to make your own blog?
Any help would be really appreciated!